| ◄ | General | ► |
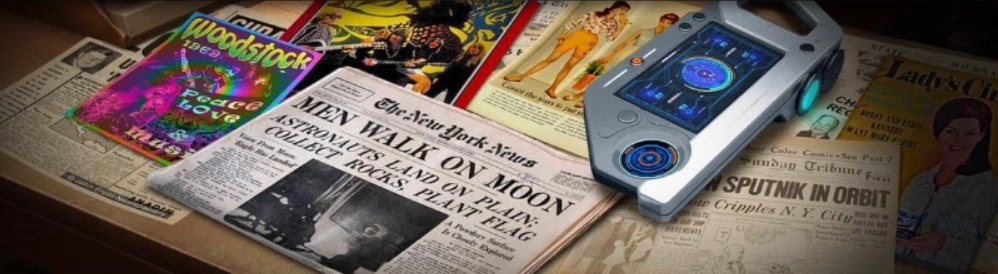
Houston, We Have a Problem is a case featured in Criminal Case as the eighth case of Travel in Time (Season 6) and the two-hundred ninety-nine case overall. It takes place in The 1960s.
Plot
Upon Zara and the player's arrival in the S.A.R.A.'s base in Houston, they found the electrocuted body of engineer Thomas Segan near the base's launch pad. The team then investigated the murder, fearing that it would affect the moon landing.
Mid-investigation, Orlando suggested the team investigate a nearby diner where S.A.R.A. employees would hang out. Later, Kai sneaked onto the launchpad to set up the beacon early, triggering the alarms. The team then found enough evidence to arrest the intended first man on the moon, astronaut Mark Hamilton, for the murder.
Hamilton admitted to the murder, saying he did it to prevent him from going to the moon as he was scared. When Segan walked in on Hamilton trying to sabotage the launch pad, Hamilton got the idea of killing him with a defibrillator shock to the head to stop the mission. The team then handed over Hamilton to FBI agent Bucky Johnson.
Seeing that five hours after the arrest, the T.I.M.E. rescue team had not yet picked them up, Amy and the player talked to Kai for his backup plan. Kai told them that the coding formula for the machine had been sabotaged. He then suggested using S.A.R.A.'s network to trace who was in possession of Leonardo da Vinci's treatise, Ruminations On Time, which T.I.M.E. had based all its research on. After S.A.R.A.'s hard drive was found, Kai found out that the treatise was recently auctioned off to Hollywood actress Lorna Westerberg. Amy then suggested waiting three more days for the rescue team while Kai searched up on Lorna's location.
Meanwhile, Jack and the player found Segan's lost checklist and the main control panel key that Hamilton held upon mission control chief Harold Fuey's request to avoid the postponement of the mission launch, eventually meeting Hamilton's replacement for the mission, Neil. After all the events, the team watched the rocket launch. Three days later, after witnessing the rocket's touchdown and Neil setting foot on the moon, Kai told the team he had tracked Lorna to Las Vegas. The team then went to Vegas to get Da Vinci's time treatise.
Summary
Victim
- Thomas Segan (S.A.R.A. engineer found dead on the rocket launch pad)
Murder Weapon
- Defibrillator
Killer
- Mark Hamilton
Suspects
")
")
")
")
")
Quasi-suspect(s)
")
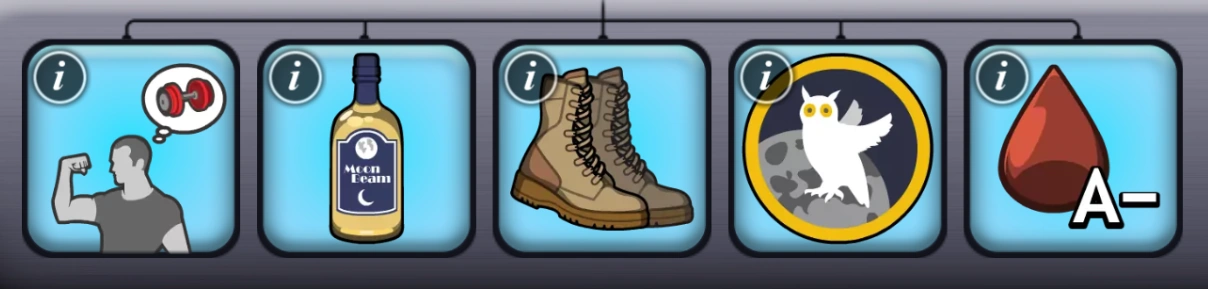
Killer's Profile
- The killer is fit.
- The killer drinks Moonbeam.
- The killer wears army boots.
- The killer wears a mission badge.
- The killer has blood type A-.
Crime Scenes
")
")
")
")
")
")
Steps
Chapter 1

- Investigate Launch Pad. (Clues: Broken Defibrillator, Victim's Body; New Suspect: Harold Fuey; Victim identified: Thomas Segan)
- Ask the mission chief about the murder. (Prerequisite: Launch Pad investigated; New Crime Scene Unlocked: Control Room)
- Investigate Control Room. (Prerequisite: Fuey interrogated; Clues: Red Cupboard, Astronaut Helmet)
- Examine Red Cupboard. (Result: Victim's Drawer)
- Examine Victim's Drawer. (Result: FBI Badge; New Suspect: Bucky Johnson)
- Give the FBI agent his badge back. (Prerequisite: FBI Badge found)
- Examine Astronaut Helmet. (New Suspect: Mark Hamilton)
- Ask the astronaut about the victim. (Prerequisite: Astronaut's Name unraveled)
- Examine Broken Defibrillator. (Result: Defibrillator)
- Analyze Defibrillator. (03:00:00; Murder Weapon registered: Defibrillator; Attribute: The killer drinks Moonbeam)
- Autopsy Victim's Body. (18:00:00; Attribute: The killer is fit)
- Go to Chapter 2. (1 star)
Chapter 2

- Investigate Diner. (Available after unlocking Chapter 2; Clues: Machine, Framed Photo)
- Examine Machine. (Result: Serial Number)
- Analyze Serial Number. (12:00:00; New Suspect: Betty Hawkins)
- Ask Betty Hawkins if she knew the victim. (Prerequisite: Serial Number analyzed; New Crime Scene Unlocked: Victim's Desk)
- Investigate Victim's Desk. (Prerequisite: Betty interrogated; Clues: Blueprint, Victim's Notebook, Torn Fabric)
- Examine Blueprint. (Result: White Powder)
- Examine White Powder. (Result: Ash)
- Ask Harold Fuey about his message to the victim. (Prerequisite: Ash identified under microscope; Profile updated: Fuey is fit and drinks Moonbeam)
- Examine Victim's Notebook. (Result: Doodle)
- Ask Agent Johnson about the victim's cartoon of him. (Prerequisite: Doodle unraveled; Profiles updated: Bucky is fit and drinks Moonbeam, Hamilton drinks Moonbeam)
- Examine Torn Fabric. (Result: Victim's Jacket)
- Analyze Victim's Jacket. (12:00:00; Attribute: The killer wears army boots)
- Examine Framed Photo. (New Suspect: Joan Segan)
- Inform Joan Segan of her brother's death. (Prerequisite: Joan Segan identified)
- Go to Chapter 3. (1 star)
Chapter 3

- Investigate Counter. (Available after unlocking Chapter 3; Clues: Torn Paper, Space Award, Waiter's Tray)
- Examine Torn Paper. (Result: Check)
- Ask Joan Segan about the victim refusing to give her money. (Prerequisite: Check restored; Profiles updated: Joan drinks Moonbeam, Hamilton is fit)
- Examine Space Award. (Result: Graffiti)
- Confront Betty Hawkins about vandalizing the victim's award. (Prerequisite: Graffiti unraveled; Profile updated: Betty is fit)
- Examine Waiter's Tray. (Result: Audio Recorder)
- Analyze Audio Recorder. (09:00:00)
- Question Mark Hamilton about his anger towards the victim. (Prerequisite: Audio Recorder analyzed; Profiles updated: Hamilton wears army boots, Fuey wears army boots, Bucky wears army boots)
- Investigate Truck. (All tasks before must be done first; Clues: Defibrillator Paddle, Security Camera)
- Examine Defibrillator Paddle. (Result: Black Substance)
- Analyze Black Substance. (15:00:00; Attribute: The killer has blood type A-)
- Examine Security Camera. (Result: Unlocked Camera)
- Analyze Unlocked Camera. (09:00:00; Attribute: The killer wears a mission badge)
- Take care of the killer now!
- Go to Times Are A-Changing (3/5). (No stars)
Times Are A-Changing (3/5)
- Check what Harold Fuey needs help with. (Available after unlocking Times Are A-Changing; Reward: 20,000 Coins)
- Investigate Launch Pad. (Prerequisite: Fuey interrogated; Clue: Clipboard)
- Examine Clipboard. (Result: Checklist)
- Analyze Checklist. (09:00:00)
- Tell Harold Fuey the launch can happen. (Prerequisite: Checklist analyzed; Reward: Burger)
- Investigate Victim's Desk. (Prerequisite: Fuey interrogated; Clue: Personal Preference Kit)
- Examine Personal Preference Kit. (Result: Key)
- Give Harold Fuey the key. (Prerequisite: Key found; Reward: Starry Shirt)
- Go ask Kai about his idea. (Available after unlocking Times Are A-Changing)
- Investigate Control Room. (Prerequisite: Kai interrogated; Clue: Locked Computer Tower)
- Examine Locked Computer Power. (Result: Open Computer Tower [Hard Drive])
- Analyze Hard Drive. (06:00:00)
- Move on to a new crime! (1 star)
Trivia
- The case's title is a reference to a misquote from the radio communications during the Apollo 13 spaceflight, now a phrase commonly used when referring to the emergence of an unforeseen problem.
- Pretty Cola is a reference to Pretty Simple.
- Pony is a reference to Sony.
- The S.A.R.A. mission badge is a reference to NASA Apollo 11 badge.
- The cover photo of the third chapter is a reference to Edward Hopper's painting Nighthawks.